モバイルで大きい画像を表示するセオリーとは
─ Guide to page sections ─
- 1.画像をフルスクリーン表示する Intense Images
- 2. jQuery を使って個別に指定する場合
- 3.フルスクリーンサイズの画像を使うには
- 4.bootstrap-4-modal-sidebar
- 5.モーダルを画像から開く
- 6.モーダルを画像から開く(flex を使う)
モバイルで操作するにはタップで拡大、タップでサマリー画像に戻ればそれで良い、簡単操作を伴って、できればテキストリンクも表示したい。

画像をフルスクリーンサイズで表示する Intense Images
フォトギャラリーを演出するなら、この「Intense Images」で決まりだ。
「Intense Images」とは、JavaScriptライブラリの intense.js を活用したものだ。以下のようなサムネイル画像をタップすると、フルスクリーンで拡大表示する。拡大表示された画面にはさらにタイトルとキャプションを表示できるというものである。
縦長、横長の画像の場合は、マウス移動で横、縦スクロールして表示する。これはお馴染みの Lightbox の進化形である。
<!-- intense images -->
<div class="demos">
  <div class="demo-image first" data-image="001.jpg" data-title="title" data-caption="caption">
  </div>
  <div class="demo-image second" data-image="002.jpg" data-title="title" data-caption="caption">
  </div>
  <div class="demo-image third" data-image="003.jpg" data-title="title" data-caption="caption">
  </div>
</div>
<!-- //intense images -->
html の構造はこうなる。demos という div を設置し、その中にひとつひとつの画像を入れる。画像を指定する部分には、 括られ div の中で指定される。各共通の demo-image という class を付ける。各画像を指定するのが、first や second やthird の class である。また data 属性を使い、画像が拡大されたときのタイトルやキャプションを指定できる。
以下 CSS を設定する。
.demos {
  text-align: center;
  margin-top: 20px;
}

.demo-image {
  cursor: url("../img/plus_cursor.png") 25 25, pointer;
  color: #fff;
  display: inline-block;
  width: 170px;
  height: 90px;
  background-size: cover;
  background-position: 50% 50%;
  margin-left: 1px;
  margin-right: 1px;
  margin-bottom: 1px;
}

.demo-image.first {
  background-image: url("../img/002.jpg");
}

.demo-image.second {
  background-position: 50% 10%;
  background-image: url("../img/001.jpg");
}

.demo-image.third {
  background-image: url("../img/003.jpg");
  background-position: 50% 0%;
}
この「Intense Images」で残念ことは、テキストリンクをサマリー画像やフルスクリーン画像に個別に配置できないことだ。だからショッピングサイトなどの購入ボタンを配置することはできない。
jQuery を使って個別に指定する場合
サマリー→拡大画像(テキストリンク)
ひとつひとつの画像の下にキャプションを入れたい場合である。html は以下のように<figure>: キャプションが付けられる図要素を使う。
データ属性の「data-enlargable」を追加する。
<!-- zoom -->
<figure>
  <img style="cursor: zoom-in;" data-enlargable src="images/car.jpg" width="400">
  <figcaption>
  <small><a href="http://zyco.jp" target="_blank">Are U experienced?</a></small>
  </figcaption>
</figure>
<!-- //zoom -->
CDN(コンテンツデリバリーネットワーク)で jQueryの指定と JavaScript の記述は以下の通り。
<script src='https://ajax.googleapis.com/ajax/libs/jquery/2.1.1/jquery.min.js'></script>
<script>
$('img[data-enlargable]').addClass('img-enlargable').click(function(){
    var src = $(this).attr('src');
    $('<div>').css({
        background: 'RGBA(0,0,0,.5) url('+src+') no-repeat center',
        backgroundSize: 'contain',
        width:'100%', height:'100%',
        position:'fixed',
        zIndex:'10000',
        top:'0', left:'0',
        cursor: 'zoom-out'
    }).click(function(){
        $(this).remove();
    }).appendTo('body');
});
</script>

フルスクリーンサイズの画像を使うには
サムネール(縮小画像)のリストからセレクトして画像を拡大表示する、というのがこれまでの常道だったが、これほどスマートフォンが主眼になると、最初からフルスクリーン画像を並べてスワイプさせていくのも効率的だ。

フルスクリーンサイズを扱うには、いくつかの準備が必要だ。
- jpg 画像を avif 画像へ変化して画像を軽くする。
画像のサイズがフルスクリーンサイズとくれば、 avif のフォーマットにして軽量化を図ると心地良く動作する。上のスクロールコンテナ(3 枚の画像)にスナップ点(scroll-snap-type)を設定したページのサンプルを見てみよう。 - 「scroll-snap-type: y mandatory;」を設定する。
スクロールコンテナーは垂直軸のみで、スナップ位置に合わせられる。@layer animation.scroll-driven { #hero { scroll-snap-type: y mandatory; /* スナップ */ scroll-timeline: --hero block; scroll-behavior: smooth; overscroll-behavior-block: contain; & figure { scroll-snap-align: start; scroll-snap-stop: always; position: relative; } - 「srcset」を使うので、予備知識を用意しておく。
そして、ここで私は「srcset」を再度確認した。そうだ、正にこういうふうに使うのだった。この方式を使ってモバイルと PC へ画像を振り分けるのだった。<figure> <picture> <source srcset="images/001-m.avif 640w,images/001.avif 1280w"> <img src="images/001-m.jpg" alt="women"> </picture> </figure>
<section id="hero">
  <div id="progress">
  </div>
  <div class="controls">
    <button class="button-up" onclick="hero.scrollBy(0, -100)">
      <i class="ri-arrow-up-circle-fill"></i>
    </button>
    <button class="button-down" onclick="hero.scrollBy(0, 100)">
      <i class="ri-arrow-down-circle-fill"></i>
    </button>
  </div>
  <figure>
    <picture>
      <source>
        <img src="" alt="">
      </source>
    </picture>
  </figure>
</section>
onclick
JavaScriptのonclickイベントである。onclickイベントは、HTML要素とJavaScriptの関数を結び付けることで動作する。
「onclick="hero.scrollBy(0, -100)"」は、JavaScript のメソッド「scrollBy」を使用して、ウィンドウ内の文書を指定された量だけスクロールさせるコードである。「scrollBy」メソッドは、指定した位置にスクロールして移動することができる。
bootstrap-4-modal-sidebar
サムネール画像をタップして大きな画像を表示する。それだけであるなら、ここまでのセクションでクリアした。
ページ遷移を考慮した場合、画像(小)をタップ、画像(大)を表示だけでは単なるイメージギャラリーでしかない。段落に差し込むとすれば、次なる展開に進むためのテキストのリンクが望まれるところである。
ここでは、モーダルの活用に再度注目してみる。既にこの方式は本サイトにて長く使われており、今のところ問題なく動いているので検証は実証済みである。
因みにバージョンは違うがこのような Bootstrap 4 modal sidebar を参考にカスタマイズしたと思う。良ければ参考にしていただきたい。
以下画像はモバイルでモーダルを開いた図である。bootstrap の modal-sidebar をモバイルでは「width: 100%」に設定した。

モーダルを組み込むメリットは、モーダルに画像を配置するだけでなく、テキストを配置してリンクを設置できることだ。
モーダルを画像から開く
「float: left」を画像に使用した例。テキストを回り込ませるこの手法は「float」のみが成せる技であり、この古典的手法は不滅である。
モーダルを画像から開く(flex を使う)
画像の配置はワンパターンに陥る傾向がある。ここではサマリー画像を配置する場合の新たな配置を試行してみる。
配置には flexプロパティを使う。ここでは馴染みのある「flex: 1 1 0;」。「flex: 1;」と同義である。flex については苦手な人も多いと思う。使い回せるパターンだけでも押さえておくと良い。flexプロパティについては以下の「関連」が参考になる。
関連: flex property quick reference
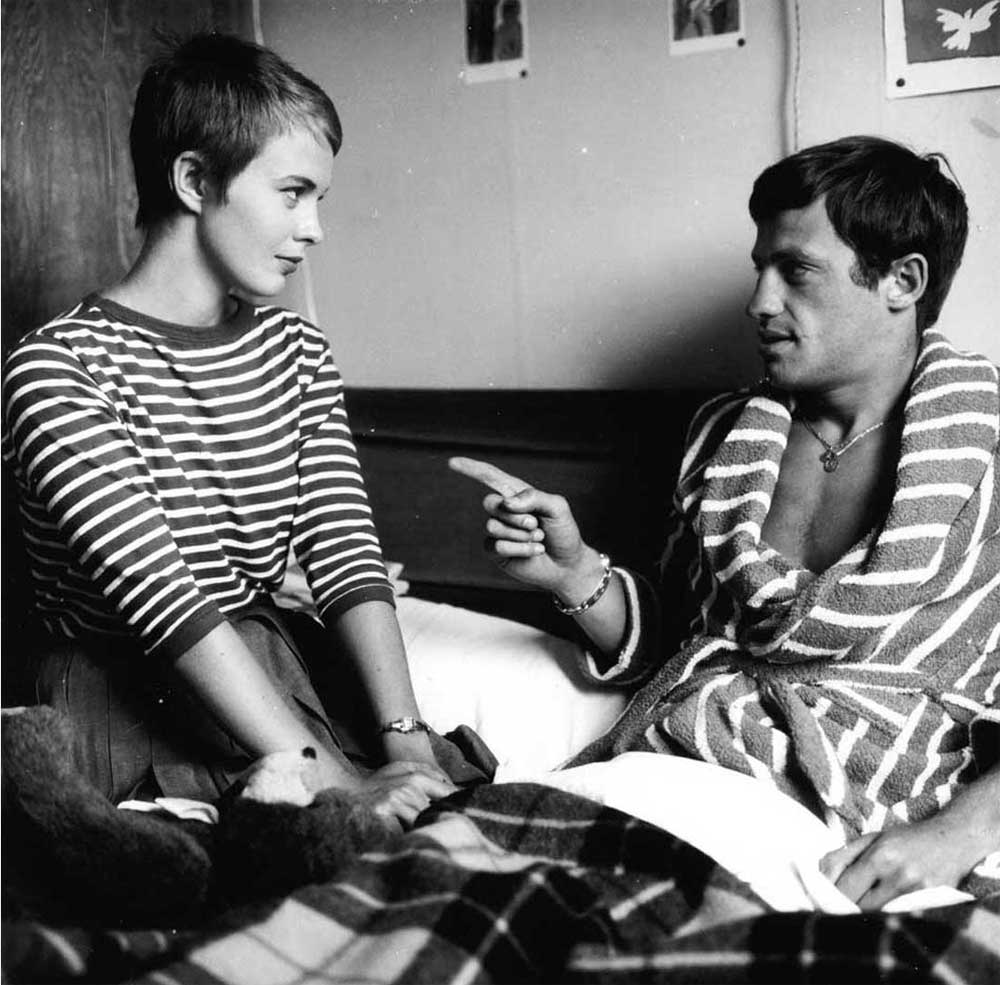
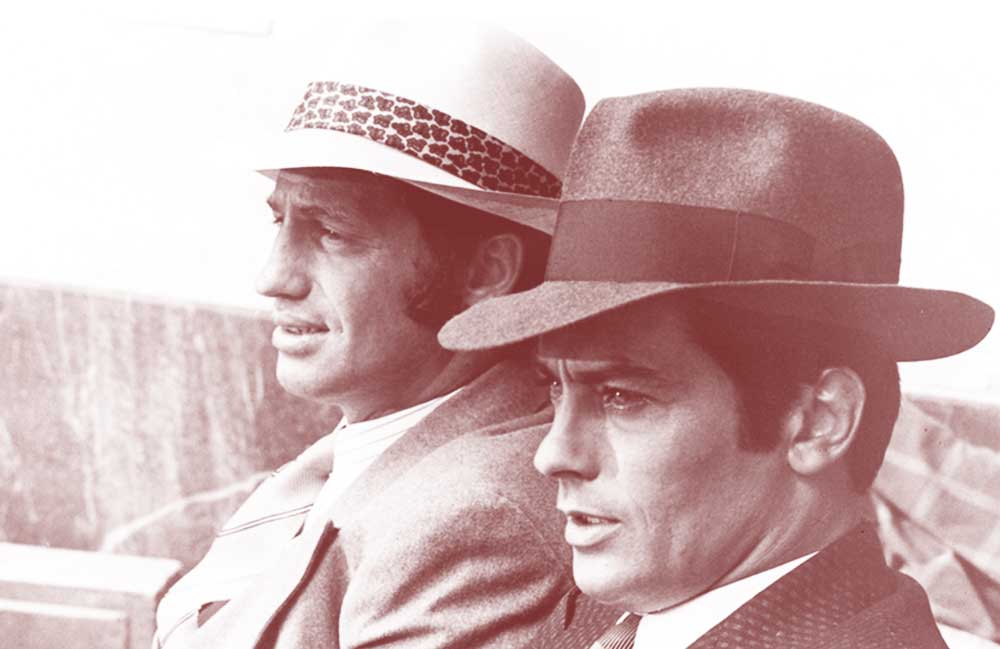
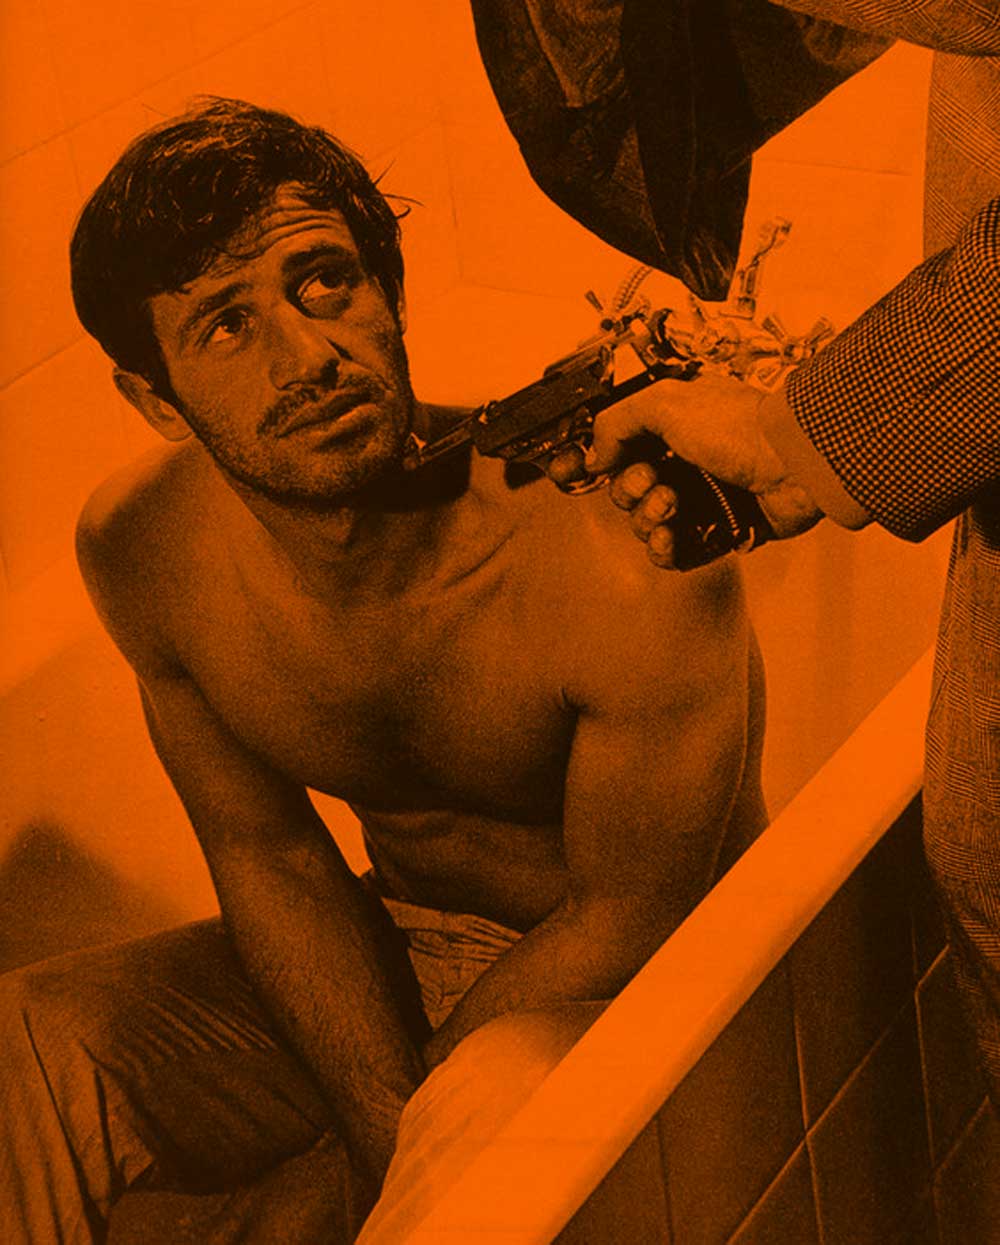
横方向へ三分割された画像を並べてみた。時間を使ったのは、画像の background-size である。
はじめ手をつけた <percentage> を使った設定はレスポンシブレイアウトを実現する中で混沌とさせた。こういう場面で相応しいのは「background-size: cover;」である。「background-size:cover」と「background-position:」を塩梅良く指定し、指定したい画像の範囲を表示領域に配置する。
CSS の設定は、インラインで表示してある。実践的に段落の中でこういうレイアウトを填め込んで合致するかどうかを事前に確認しておかなければいけない。
以下、該当する部分の html と CSS である。青文字部分がモーダールの接続部分になる。
画像を囲むラッパーを以下のように指定する。
<div style="height: 150px; width: 100%; margin: 0 auto; background-color: #f7f7f7; margin-bottom: 16px; display: flex; gap:5px; flex-wrap: nowrap; flex-direction: row;  justify-content: center; ">
</div>
ラッパーの階層下に画像を以下のように指定する。
  <div style="background-image: url(images/jean-p-4.jpg); cursor: pointer; background-size: cover; background-position: 40% 75%; border-radius: 12px; font-size: 12px; color: #fff; border: 1px solid sienna; font-size: 14px; flex: 1 1 0;"><span style="color: sienna;">display: flex;</span>
  </div>
  <div style="background-image: url(images/car.jpg); cursor: pointer; background-size: cover; background-position: 25% 75%; border-radius: 12px; font-size: 12px; color: #fff; border: 1px solid sienna; font-size: 14px; flex: 1 1 0;">flex: 1 1 0;
  </div>
  <div data-toggle="modal" data-target="#slideleft-5" style="cursor: pointer; background-image: url(images/jean-p-2.jpg); background-size: cover; border-radius: 12px; font-size: 12px; color: #fff; border: 1px solid sienna; font-size: 14px; flex: 1 1 0;">Open modal.
  </div>
さて、次は画像とテキストをある比率で配置した例を挙げる。
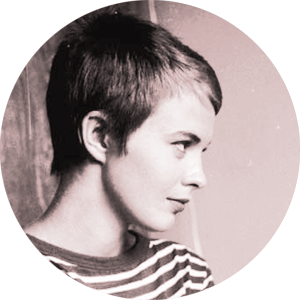
A bout de souffle
1960 French crime drama film. Directed and written by Jean-Luc Godard, starring Jean-Paul Belmondo and Jean Seberg.
<div style="display: flex; flex-wrap: nowrap; align-items: center; justify-content: center; background-color: #fff; height: 180px; width: 100%; gap: 10px; border-radius: 20px; border: 1px dashed #333; margin-bottom: 16px;">
  <img style="flex: 0 0 70px; width: 70px; height: 70px; margin-left: 20px;" src="./images/jean.png" alt="Jean Seberg">
  <div>
    <p>A bout de souffle</p>
    <p>1960 French crime drama film. Directed and written by Jean-Luc Godard, starring Jean-Paul Belmondo and Jean Seberg.</p>
  </div>
</div>
モーダルの装備とこのセクションの html と css を別ページで分かり易く整理してみた。
ここまで、PC やモバイルを対象に画像を拡大させるセオリーを追及してみた。ひとつの方法論で PC やモバイルを包括した全般に通じる解決策はない。現実的に考慮してみて、タッチスクリーンではピンチアウト(pinch out)が使えるので拡大は自由だ。それを考慮すると、このセクションのモーダルを使った方法が一番対応力があると考察した。
